Brain Cake
This Brain Cake is a delightful treat perfect for Halloween and other festive occasions! With its vibrant red velvet layers, creamy pink buttercream, and a gory raspberry jam filling, it’s sure to be the centerpiece of any party. Not only does it look striking, but the combination of flavors will leave your guests wanting more. This cake is versatile enough for birthdays or spooky gatherings, making it an ideal choice for anyone looking to impress.
Why You’ll Love This Recipe
- Eye-catching design: The brain shape and vivid colors make this cake visually stunning.
- Delicious flavor: Moist red velvet paired with sweet buttercream and tart raspberry jam creates a delightful taste experience.
- Easy to make: With straightforward steps, even novice bakers can successfully create this cake.
- Perfect for sharing: Serves 20, making it great for parties or family gatherings.
- Customizable options: You can adjust the food coloring and jam types to suit your theme.
Tools and Preparation
To create your Brain Cake, you’ll need some essential tools that will simplify the process.
Essential Tools and Equipment
- 9-inch round cake pans
- Mixing bowls
- Electric mixer
- Offset spatula
- Cooling rack
Importance of Each Tool
- 9-inch round cake pans: These are perfect for creating even layers that stack beautifully.
- Electric mixer: Saves time and effort when mixing batter and frosting to achieve the right consistency.
- Offset spatula: Ideal for spreading frosting smoothly on your cake layers.
- Cooling rack: Ensures cakes cool evenly, preventing sogginess.
Ingredients
To make this delicious Brain Cake, gather the following ingredients:
For the Cake Layers
- 2 1/2 cups cake flour (300g)
- 2 Tbsp unsweetened cocoa powder, sifted (10g)
- 1 tsp baking soda (6g)
- 1/2 tsp fine salt (3g)
- 1/2 cup (1 stick) unsalted butter, room temperature (113g)
- 1 3/4 cups granulated sugar (350g)
- 2 large eggs, room temperature (112g)
- 1 1/4 cups buttermilk, room temperature (300g)
- 1/2 cup vegetable or canola oil (120g)
- 2 tsp vanilla extract or vanilla bean paste (8g)
- 1 tsp white vinegar (4g)
- 1 tsp red gel food coloring (or 1 Tbsp liquid food coloring)
For the Buttercream Frosting
- 1 1/2 cups (3 sticks) unsalted butter, room temperature (339g)
- 1 cup (8 oz) full-fat cream cheese, room temperature (226g)
- 1 Tbsp vanilla extract or vanilla bean paste (12g)
- 1 tsp fine salt (6g)
- 7 cups powdered sugar (904g or a 2lb. bag)
- 3 Tbsp heavy whipping cream, room temperature (45g)
- small squirt of red gel food coloring (or 1 tsp liquid food coloring)
For the Raspberry Jam Filling
- 1/2 cup seedless raspberry or strawberry jam
- 3 Tbsp water (45g)
- (optional) [1/4 tsp red gel food coloring or 1 tsp liquid food coloring]
How to Make Brain Cake
Step 1: Preheat the Oven
Preheat your oven to 350°F (175°C). This ensures your cake bakes evenly.
Step 2: Prepare the Cake Pans
Grease and flour two 9-inch round cake pans. This step helps prevent sticking.
Step 3: Mix Dry Ingredients
In a mixing bowl, whisk together:
1. Cake flour
2. Cocoa powder
3. Baking soda
4. Salt
Set aside.
Step 4: Cream Butter and Sugar
In a separate bowl, use an electric mixer to beat together:
– Unsalted butter and granulated sugar until light and fluffy.
Step 5: Add Eggs and Wet Ingredients
Add eggs one at a time while mixing. Then incorporate:
– Buttermilk,
– Oil,
– Vanilla extract,
– White vinegar,
– Red gel food coloring.
Mix until well combined.
Step 6: Combine Dry and Wet Ingredients
Gradually add the dry mixture to the wet mixture until just combined. Do not overmix!
Step 7: Bake the Cakes
Divide batter evenly between prepared pans. Bake for about 27 minutes or until a toothpick comes out clean. Allow cakes to cool in pans before transferring them to a cooling rack.
Step 8: Prepare the Buttercream Frosting
In another mixing bowl, beat together:
– Unsalted butter,
– Cream cheese,
– Vanilla extract,
– Salt until smooth.
Gradually add powdered sugar while mixing on low speed. Finally, add heavy whipping cream and adjust consistency with additional sugar if needed.
Step 9: Assemble the Cake
Once cooled, place one layer on a serving plate. Spread raspberry jam on top followed by frosting. Place second layer on top and frost the entire cake with remaining buttercream.
Step 10: Decorate with Food Coloring
Use additional red gel food coloring to give your Brain Cake an extra spooky effect!
Now you’re ready to serve your stunning Brain Cake! Enjoy this festive treat that’s sure to be a hit among friends and family!
How to Serve Brain Cake
This brain cake is a showstopper perfect for Halloween gatherings or themed parties. With its striking appearance and delicious flavor, it pairs well with a variety of serving suggestions.
On a Festive Platter
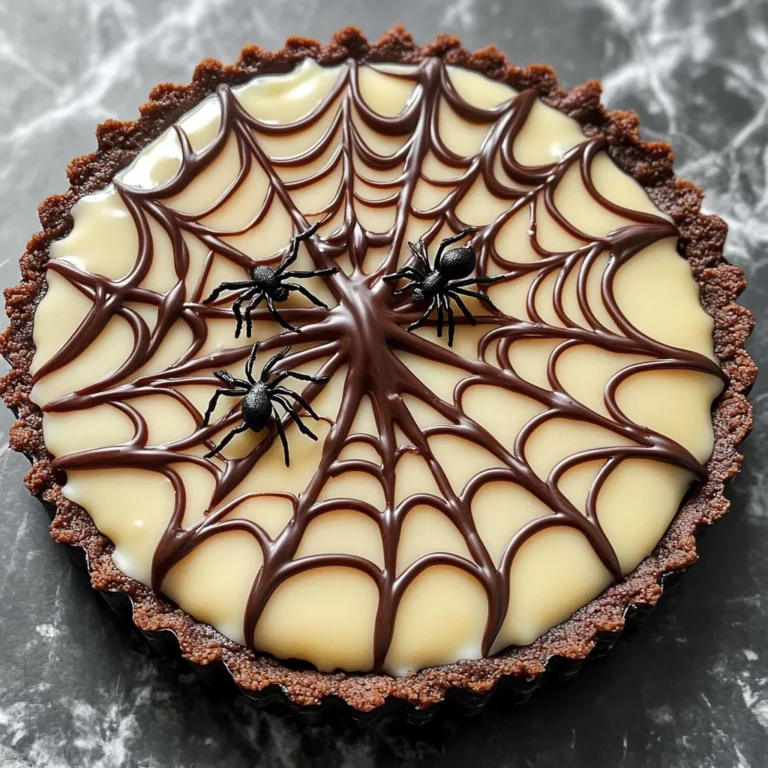
- Create a visually appealing display by placing the brain cake on a decorative platter surrounded by spooky-themed treats like gummy worms or chocolate spiders.
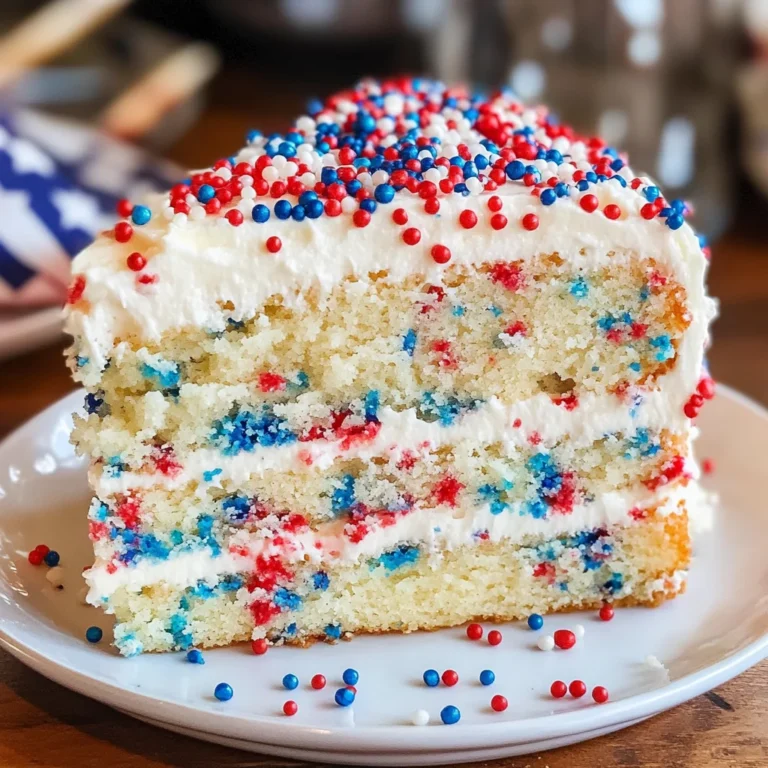
With Creepy Cupcakes
- Serve slices of brain cake alongside Halloween-themed cupcakes, such as spider web vanilla cupcakes or ghostly chocolate cupcakes, to offer guests a variety of sweet treats.
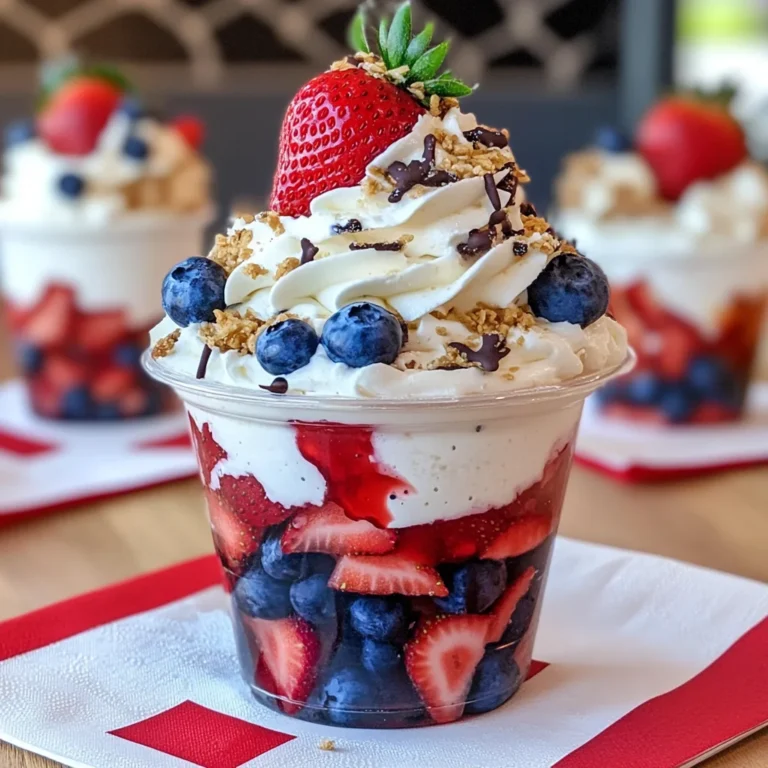
Accompanied by Ice Cream
- Pair the rich flavors of brain cake with a scoop of vanilla or raspberry ice cream for a delightful contrast. The creaminess complements the cake’s texture perfectly.
As Part of a Dessert Table
- Incorporate the brain cake into a larger dessert table filled with Halloween goodies like cookies, brownies, and candy corn for an enticing spread that will wow your guests.
Drizzled with Sauce
- Enhance each slice with a drizzle of raspberry sauce or chocolate ganache to add an extra layer of flavor and make the presentation even more tempting.
How to Perfect Brain Cake
For the best results when making your brain cake, keep these tips in mind.
- Use Room Temperature Ingredients: Ensure butter, eggs, and buttermilk are at room temperature for better mixing and fluffier batter.
- Sift Dry Ingredients: Sifting flour and cocoa powder removes lumps and aerates the mixture, resulting in a lighter cake texture.
- Don’t Overmix Batter: Mix just until combined to avoid dense cake. Overmixing can lead to tough cakes.
- Check Oven Temperature: Use an oven thermometer to ensure accurate baking temperatures; this helps achieve evenly baked layers.
- Cool Completely Before Frosting: Allow your cake layers to cool fully before adding frosting to prevent melting and sliding.
- Customize Color Intensity: Adjust the amount of red gel food coloring based on how vibrant you want your brain cake to appear.
Best Side Dishes for Brain Cake
Pairing side dishes with your brain cake can elevate your dessert experience. Here are some great options:
-
Fruit Salad
A refreshing mix of seasonal fruits adds brightness to the table, balancing out the richness of the cake. -
Chocolate Mousse
This indulgent treat offers a creamy texture that complements the moistness of the brain cake beautifully. -
Candy Corn Mix
A colorful blend of candy corn and nuts provides a crunchy contrast to the soft cake while keeping with the Halloween theme. -
Pumpkin Spice Cookies
These spiced treats bring warm flavors that tie in wonderfully with autumn festivities surrounding Halloween. -
Caramel Popcorn
Sweet, crunchy caramel popcorn makes for an exciting snack alongside slices of brain cake, perfect for munching during parties. -
Cheesecake Bites
Mini cheesecake bites provide a rich yet bite-sized dessert option that pairs nicely without overwhelming guests after their main slice. -
Whipped Cream Dip
A light whipped cream dip served with fresh fruit allows guests to indulge in something creamy and sweet alongside their slice of fun. -
Spooky Cheese Platter
A selection of cheeses shaped like ghosts or pumpkins can create an eye-catching savory option that balances out all those sweets!
Common Mistakes to Avoid
Making a brain cake can be a fun challenge! Here are some common mistakes you should avoid.
-
Skipping the Room Temperature Ingredients: Not using room temperature eggs and butter can lead to an uneven batter. Ensure your ingredients sit out for about 30 minutes before mixing.
-
Overmixing the Batter: Overmixing can result in a dense cake. Mix until just combined to keep your brain cake light and fluffy.
-
Not Using the Right Food Coloring: Using liquid food coloring instead of gel may not give you the vibrant red color needed. Stick with gel for the best results.
-
Ignoring Baking Time: Each oven is different, so relying solely on baking time can be misleading. Always check for doneness by inserting a toothpick; it should come out clean or with a few crumbs.
-
Forgetting to Level the Cake Layers: Uneven layers can ruin the spooky look of your brain cake. Use a serrated knife to level each layer before stacking.
-
Neglecting Cooling Time: Cutting into a warm cake will lead to crumbling. Allow your cake layers to cool completely before frosting them.
Storage & Reheating Instructions
Refrigerator Storage
- Store leftover brain cake in an airtight container.
- It can last up to 5 days in the refrigerator.
- To keep the frosting fresh, cover it lightly with plastic wrap.
Freezing Brain Cake
- Wrap individual slices tightly in plastic wrap.
- Place wrapped slices in a freezer-safe container or bag.
- The brain cake will stay fresh for up to 3 months in the freezer.
Reheating Brain Cake
-
Oven: Preheat your oven to 350°F (175°C). Wrap slices in foil and heat for about 10-15 minutes.
-
Microwave: Place a slice on a microwave-safe plate and cover it with a damp paper towel. Heat for 15-20 seconds at a time until warmed through.
-
Stovetop: Use a skillet over low heat. Cover with a lid and warm each slice for about 3-5 minutes, flipping halfway through.
Frequently Asked Questions
If you’re curious about making this spooky treat, here are some common questions answered!
What is Brain Cake?
Brain cake is a visually stunning dessert typically made from red velvet cake, decorated with pink buttercream and raspberry jam to resemble a brain.
How do I make a Brain Cake without fondant?
You can create realistic textures using buttercream techniques like piping or spatula work, avoiding fondant altogether while still achieving an impressive look.
Can I customize my Brain Cake flavors?
Absolutely! You can alter the flavor by adding different extracts or using other cake bases like chocolate or vanilla instead of red velvet.
How long does it take to make Brain Cake?
The total time from prep to serving is approximately 77 minutes, making it relatively quick for such an elaborate dessert!
Is Brain Cake suitable for parties?
Yes! It’s perfect for Halloween parties or any themed event where you want to impress guests with something unique and delicious.
Final Thoughts
This brain cake stands out both in appearance and taste, making it an ideal choice for Halloween gatherings or any festive celebration. Feel free to customize flavors and decorations to match your theme, ensuring that every bite is as enjoyable as its spooky look!
Brain Cake
Transform your Halloween celebrations with this eye-catching Brain Cake! This delightful dessert features moist red velvet layers, a creamy pink buttercream frosting, and a tangy raspberry jam filling that creates a fun and spooky centerpiece for any festive occasion. Not only does it look striking, but the combination of flavors will leave your guests craving more. Perfect for parties or themed gatherings, this cake is as versatile as it is impressive.
- Prep Time: 30 minutes
- Cook Time: 27 minutes
- Total Time: 57 minutes
- Yield: Serves approximately 20 slices 1x
- Category: Dessert
- Method: Baking
- Cuisine: American
Ingredients
- 2 1/2 cups cake flour
- 2 Tbsp unsweetened cocoa powder
- 1 tsp baking soda
- 1/2 tsp fine salt
- 1/2 cup unsalted butter, room temperature
- 1 3/4 cups granulated sugar
- 2 large eggs, room temperature
- 1 1/4 cups buttermilk, room temperature
- 1/2 cup vegetable or canola oil
- 2 tsp vanilla extract or vanilla bean paste
- 1 tsp white vinegar
- 1 tsp red gel food coloring
- 1 1/2 cups unsalted butter, room temperature
- 1 cup full-fat cream cheese, room temperature
- 1 Tbsp vanilla extract or vanilla bean paste
- 1 tsp fine salt
- 7 cups powdered sugar
- 3 Tbsp heavy whipping cream, room temperature
- 1/2 cup seedless raspberry jam
- 3 Tbsp water
Instructions
- Preheat oven to 350°F (175°C) and grease two 9-inch round cake pans.
- In a bowl, whisk together flour, cocoa powder, baking soda, and salt.
- In another bowl, cream butter and sugar until fluffy. Add eggs one by one, followed by buttermilk, oil, vanilla extract, vinegar, and food coloring; mix until combined.
- Gradually incorporate dry ingredients into wet mixture without overmixing.
- Pour batter into prepared pans and bake for about 27 minutes or until a toothpick comes out clean. Let cool before transferring to a rack.
- Prepare the buttercream by beating butter and cream cheese together with powdered sugar until smooth. Adjust consistency with heavy cream if necessary.
- Assemble the cake by layering with raspberry jam and frosting between layers and over the top.
Nutrition
- Serving Size: 1 slice (100g)
- Calories: 410
- Sugar: 45g
- Sodium: 270mg
- Fat: 20g
- Saturated Fat: 10g
- Unsaturated Fat: 8g
- Trans Fat: 0g
- Carbohydrates: 55g
- Fiber: <1g
- Protein: 4g
- Cholesterol: 55mg